Pages

Friday 28 February 2020

Fanciful Fragrance - Awesome at any age!

Continuing in a similar theme to Wednesday's I wanted to use the Fanciful Fragrance stamp set, plus the years 'In Colours' and the matching ribbon.  I stared with the designer papers that use the colours. The designer paper is called 'Woven Threads' its really pretty in the pinks and blues.


I went back to the 'early espresso' card as the matt layers although the perfume bottles are stamped in black. I used memento ink as I knew I wanted to do a little water-colouring. Using the two colours from the designer paper I used the 'seaside spry for the class and 'rococo rose' for the labels. I still have a Wink of Stella gold pen so used that for the lids. Finally I added 3 pearls which I painted with the Wink of Stella so that they matched the lids.


The main card is in Rococo Rose, then the early espresso, layered with a piece of the plainer designer paper which I have stamped over plus a length of the patterned paper which I have torn. The sentiment is from the Itty Bitty Birthday stamp set. Plus a little stamping on the inside.


My Online  shop      please use this hostess code AGGXR7TT if you place an order over £25 .

I will send you a small gift in the post as a thank you.
Happy crafting k x


Wednesday 26 February 2020

Very Versailles in two of the years 'In Colours'. Which do you prefer?

So its time to plan my next class. First decision is about stamp set, then colours, themes, etc etc the list is endless. Sometimes the answers come easily but not at the moment for me!
Two stamp sets I have bought in the last 12 months that I love but haven't used very much are Very Versailles and Fanciful Fragrance. Also I have this years 'In colours' but haven't even taken the plastic wrapping of the inks yet. Tut tut I hear you say.
To work:
The Very Versailles has two large stamps that make lovely backgrounds so I started with these. Wanting to use the same colour schemes meant my neutral had to go with each colour. Normally I would have gone with crumb cake which would have looked good with the terracotta but was too wishy washy for the seaside spray so my neutral is early espresso. I have the in colour ribbons which are lovely but do not make very good bows, a little too stiff!
In the terracotta.....

The detail, stitched framelets for the white oval. The beautiful ribbon and a little daubing around the sentiment.


The central image, very french mirror style, love this stamp. Then I have added a few butterflies, (a very old stamp set and punches!)

Now for the seaside spray....


The detail is the same as above


The stamped inside and the envelop.


The two together


Which colour-way do you prefer?

My Online  shop      please use this hostess code AGGXR7TT if you place an order over £25 .

I will send you a small gift in the post as a thank you.
Happy crafting k x


Very versailles stamp set 


Thursday 20 February 2020

From simple to avid, similar design, stepping it up.

Yesterday I showed 8 cards made with 1 stamp set and 2 colours. All 8 of those cards would be classed as #simple stamping. Today I have taken my favourite card and stepped it up twice. Meaning I have developed the theme to create a more difficult card to make and then added a further element.

This is the simple card I started with....


I have extended the line of flowers, added some designer paper then the sentiment. I have used a sentiment from a second stamp set, it is simply stamped then die cut with the stitched shape dies, these are on my desk all the time, they are my most used dies. I have mounted the sentiment on a punched scalloped oval. This is the sort of card you may make at a general class.


The other sort of crafter I come across is seen as an avid crafter. I am one of those, we are people who craft at home most days even if we don't have to make a card for anyone in particular. For me it is about mental health. When I am crafting I don't think about anything else. Some people would say thats burying your head in the sand but many of the things we worry about we actually have no control over whatsoever, Sorry off point. 
For the avid crafter the base is the same as the previous card but I have added a punched out flower which I have 'daubed' to give a depth to the colour. A doily and some pearls.  


I hope this gives you some idea of how I develop ideas for classes depending on who the class is for. 


My Online  shop      please use this hostess code V4U2ZD9Y if you place an order over £25 .

I will send you 1/2 a pack of the Peaceful Poppies elements.
Happy crafting k x


Wednesday 19 February 2020

Celebrate with Cake

Celebrate with Cake is the name of a stamp set in a mini catalogue put together for those new to stamping. It can be bought as a stamp set on its own or as a bundle with 2 ink pads, a pack of notecards and envelopes and a clear block 'D'. Ideal starter kit for a new hobby, or something to take away with you so you can easily be creative on holiday.


 These are the 8 cards featured in the catalogue. I have cased them. Now I have started I have more ideas just using the stamps simply like this.


I have also decorated all the envelopes to match each card


Love this one.


So what do you think?
If you would like a copy of this mini catalogue please get in touch email karen@krafting.co.uk

My Online  shop      please use this hostess code V4U2ZD9Y if you place an order over £25 .

I will send you 1/2 a pack of the Peaceful Poppies elements.
Happy crafting k x


Saturday 15 February 2020

Mixed Media again

Its foul outside so I have had a morning in my craft room doing another lesson on my mixed media course.  Some bits of it are very easy and familiar others are new techniques which keep it interesting. The idea of the course is to use what we have rather than 'buy more stuff'. Given the state of my craft room this must be a good thing! This lesson was from Katie Leitch on the Savvy supply school, a course from Mixed Up Creatives.
The new technique to me here was painting in dark grey/black then spraying with water to get rid of most of the paint. I think I will do another one of these but use a colour of paint. This is a bit 'grey' for me. It would look good in a turquoise or red, watch out for these makes, maybe tomorrow.


and a close up.


All the decoration is made from a loo roll inside!
Happy weekend crafting. k x


Thursday 13 February 2020

Mixed media, envelope pocket.

I'm not sure where this week has gone. I seem to have started quite a few projects again but not finished them. This project is for a mixed media course I have been doing. This lesson was by DeeDee Catron on the Savvy Supply School, a course from Mixed Up Creatives. I started as asked then went 'off piste' as we call it and created a couple of others, one very simple and the second a half way between.
I have always loved using torn paper, but for the purple pocket I have actually torn Stampin'Up! designer paper, used both sides and I do like the result. Might have to try another one similar to this.

This one follows the class. I have used torn paper from a book, some music paper and a little of a sheet of corrugated pink paper!


And these are the other two, the red one is very simple with a couple of poppies toppers from the Stampin'Up! embellishment pack. The fastener button was in my stash. Isn't it a corker.


This purple one is where I have torn the paper from the Stampin'Up! pack for the front..... what do you think?


Great little envelope pockets. They will hold chocolates, cold remedies, seed packets etc. A really useful little make.

My Online  shop      please use this hostess code V4U2ZD9Y if you place an order over £25 .


I will send you 1/2 a pack of the Peaceful Poppies elements. (as used in the red pocket)
Happy crafting k x


Saturday 8 February 2020

My crafty space

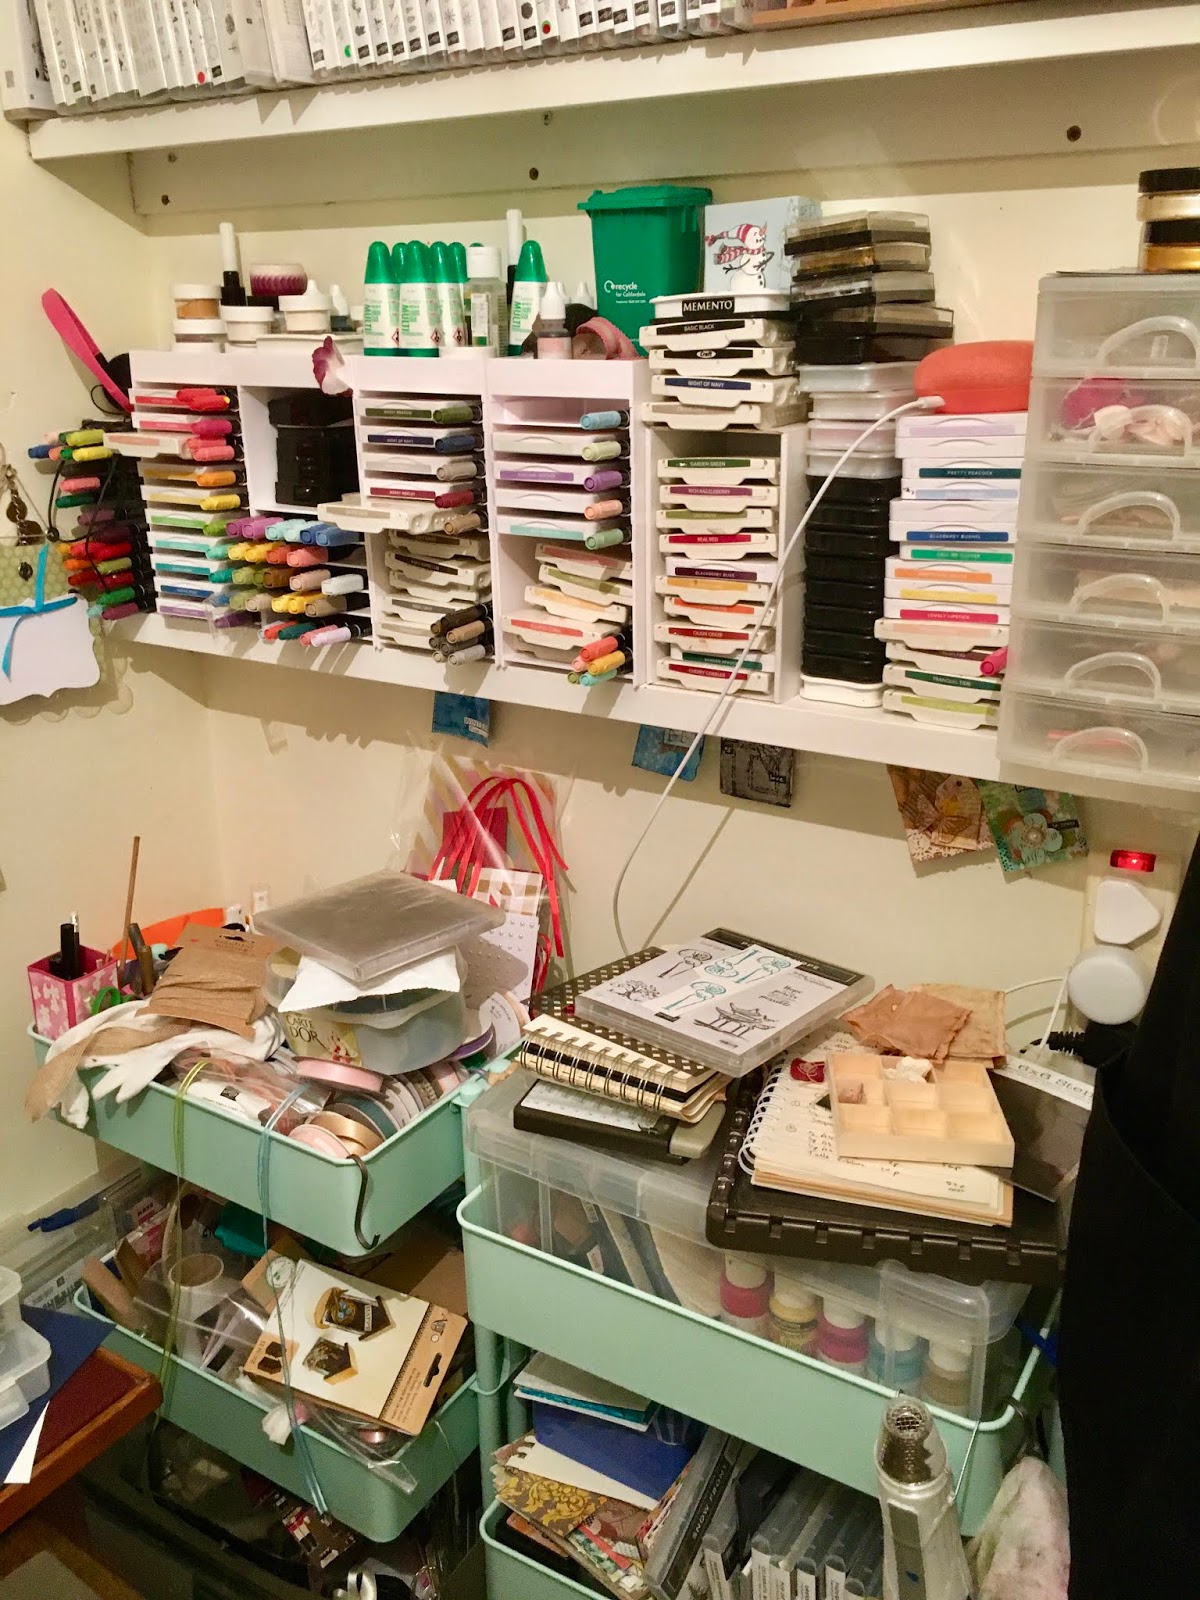
I thought a view of my craft room may give you an idea of why I am still finding crafting challenging. My studio was about 30ft by 12ft. My craft room is 6ft x 6ft! Its a challenge.

I have passed on a lot of stash and I have been through my stamp sets and papers so many times but I think those that are left will be used in the next 12 - 18 months. I have put a system in place so that I know which ones I have used the most.

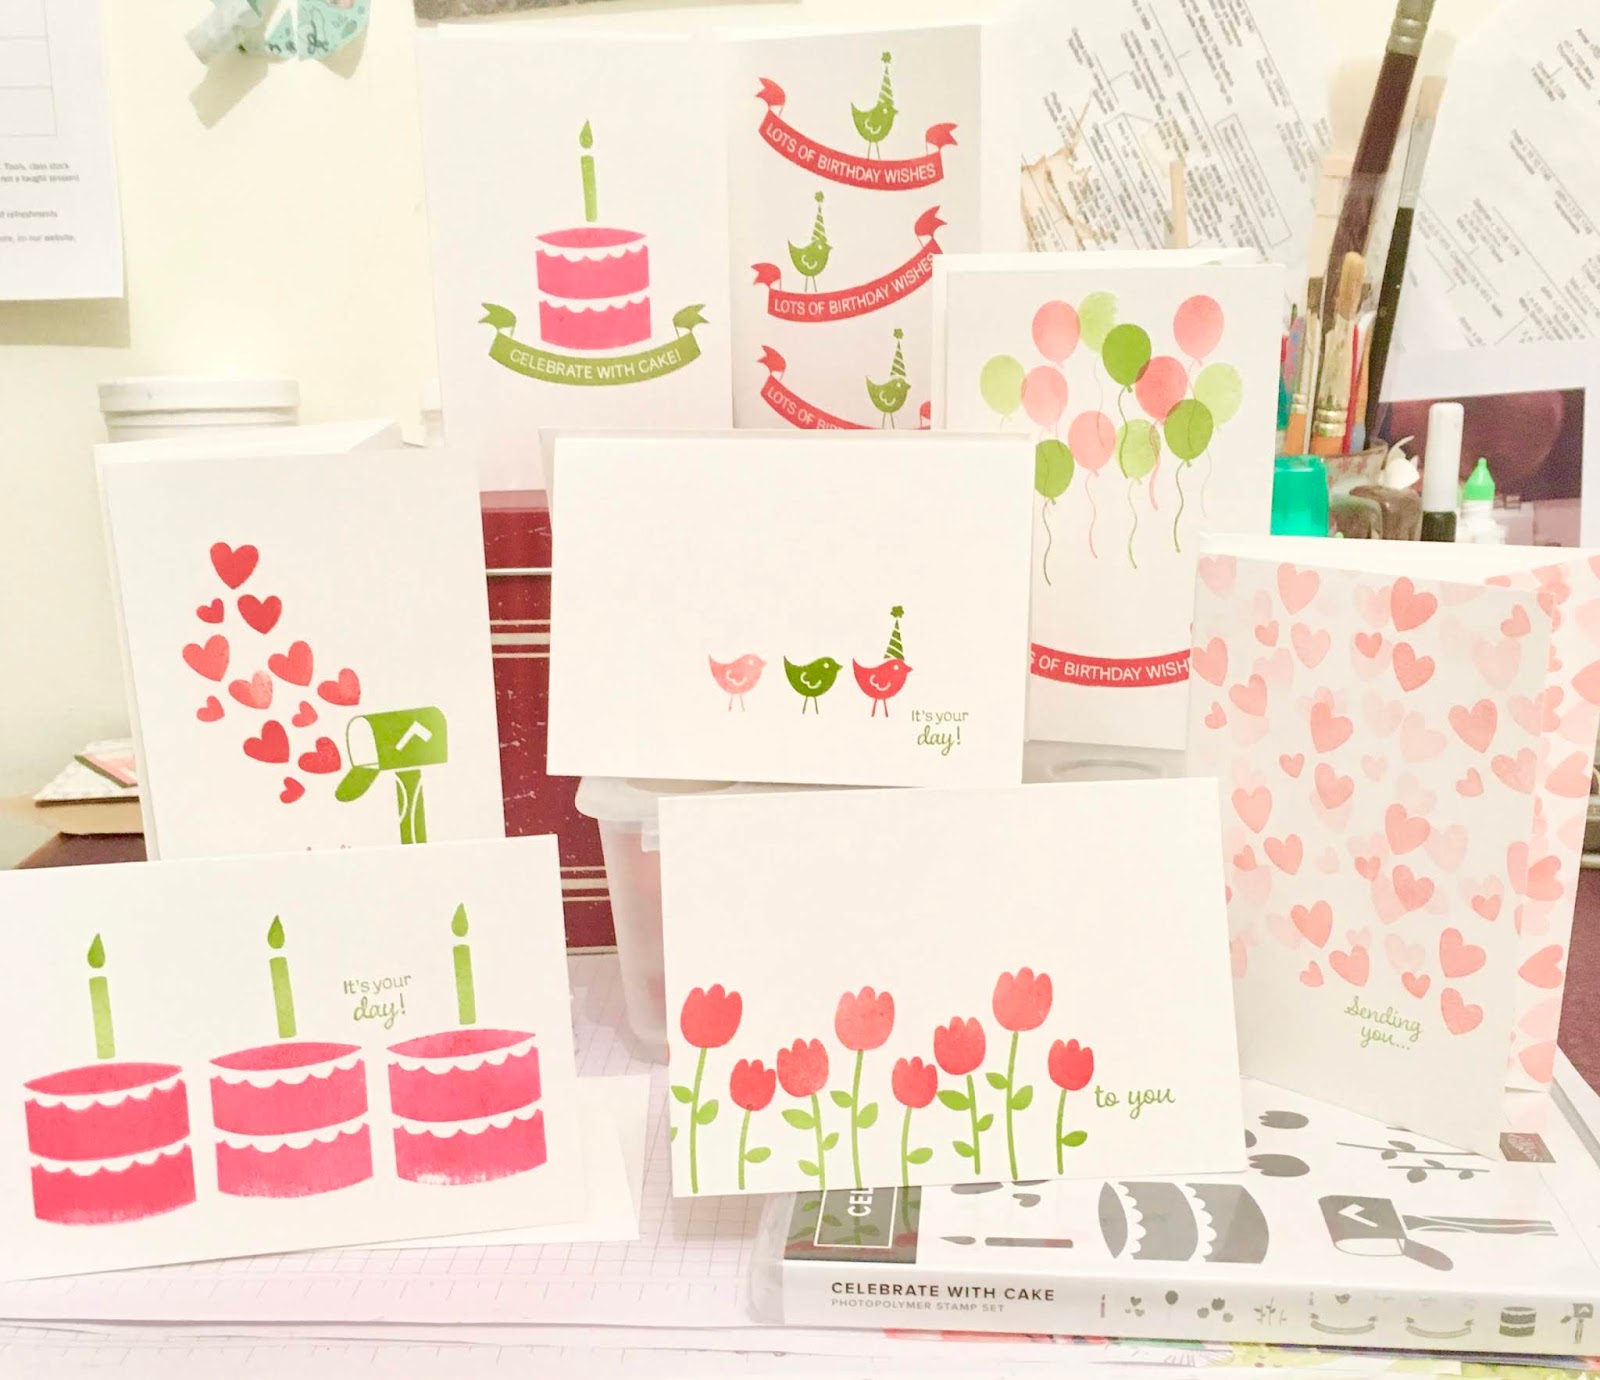
The pictures were taken quite late last night, the room has not been decorated since we moved in hence the crayon on the wall behind my photo cube space, which I have to empty every time I take photos of completed projects.


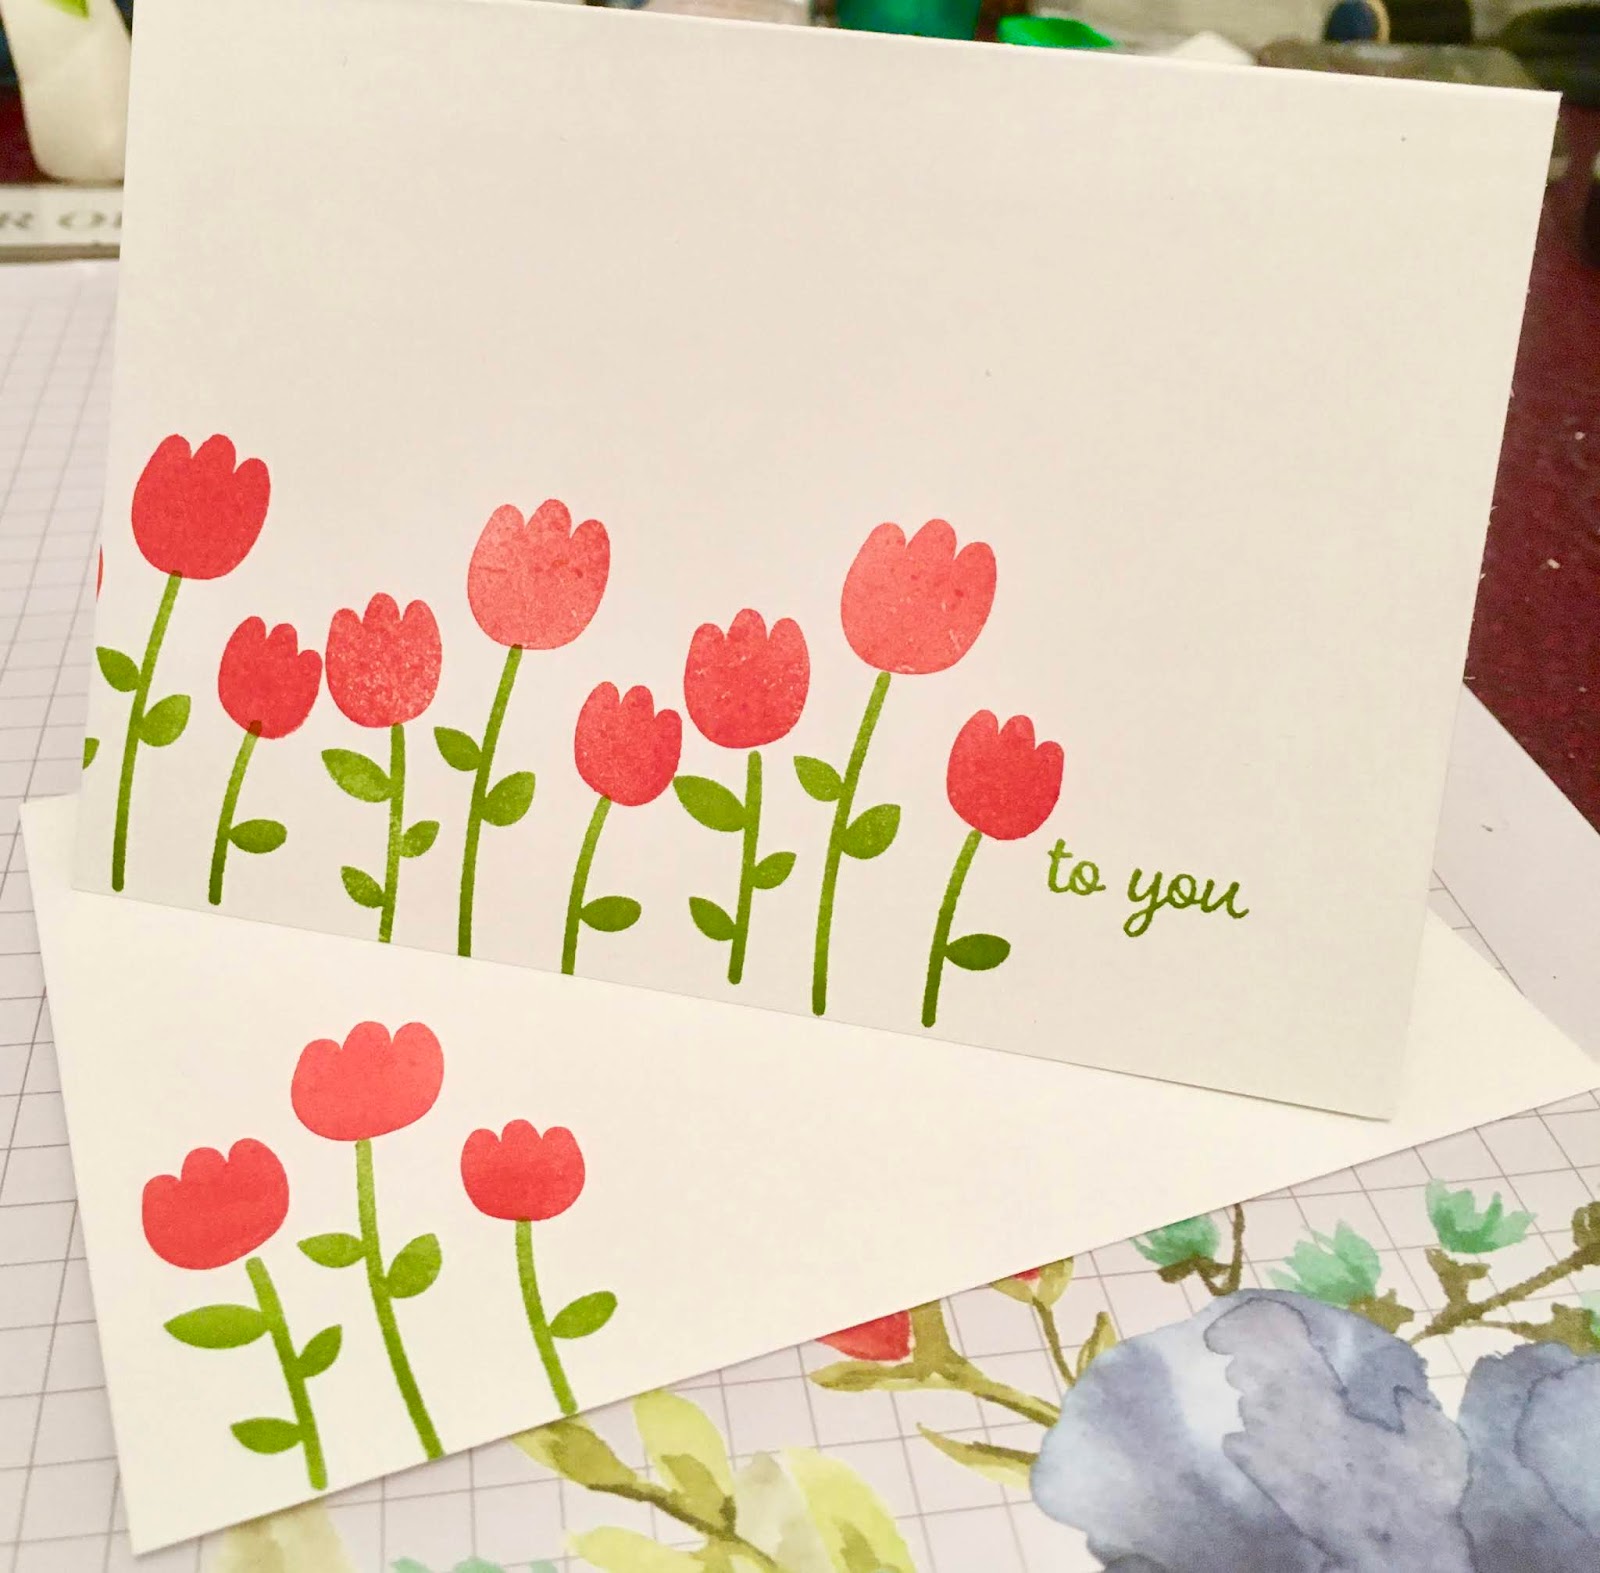
My desk, laid out with the 2 projects for today!


To the right of the desk, one very messy trolly, one generally sorted trolley!


Above the trollies, stamp pads to hand and above that my stamps.


To the left of the desk - stuff. The shelf with the tin that has the cow on is my photo cube.


Moving along the left hand wall, more stuff, the display stuff is not much different to what I had in the studio. Do you have those things that you hang onto as you so enjoyed making them and you are actually quite please with how they turned out?


Plus the lamp shade which still hasn't been hung!


And my punches. My Dad made this shelf from some old drawers my Father in Law gave him. He made them to store the collection of dvd's my children had when they were small, they were made to measure so they fitted into a short bit of wall under the light switch. But they are just right for storing my punches!


This is the built in wardrobe of the room! It is stuffed to the gills!

Any tips or tricks gratefully received. Have a lovely crafty weekend folks. k x
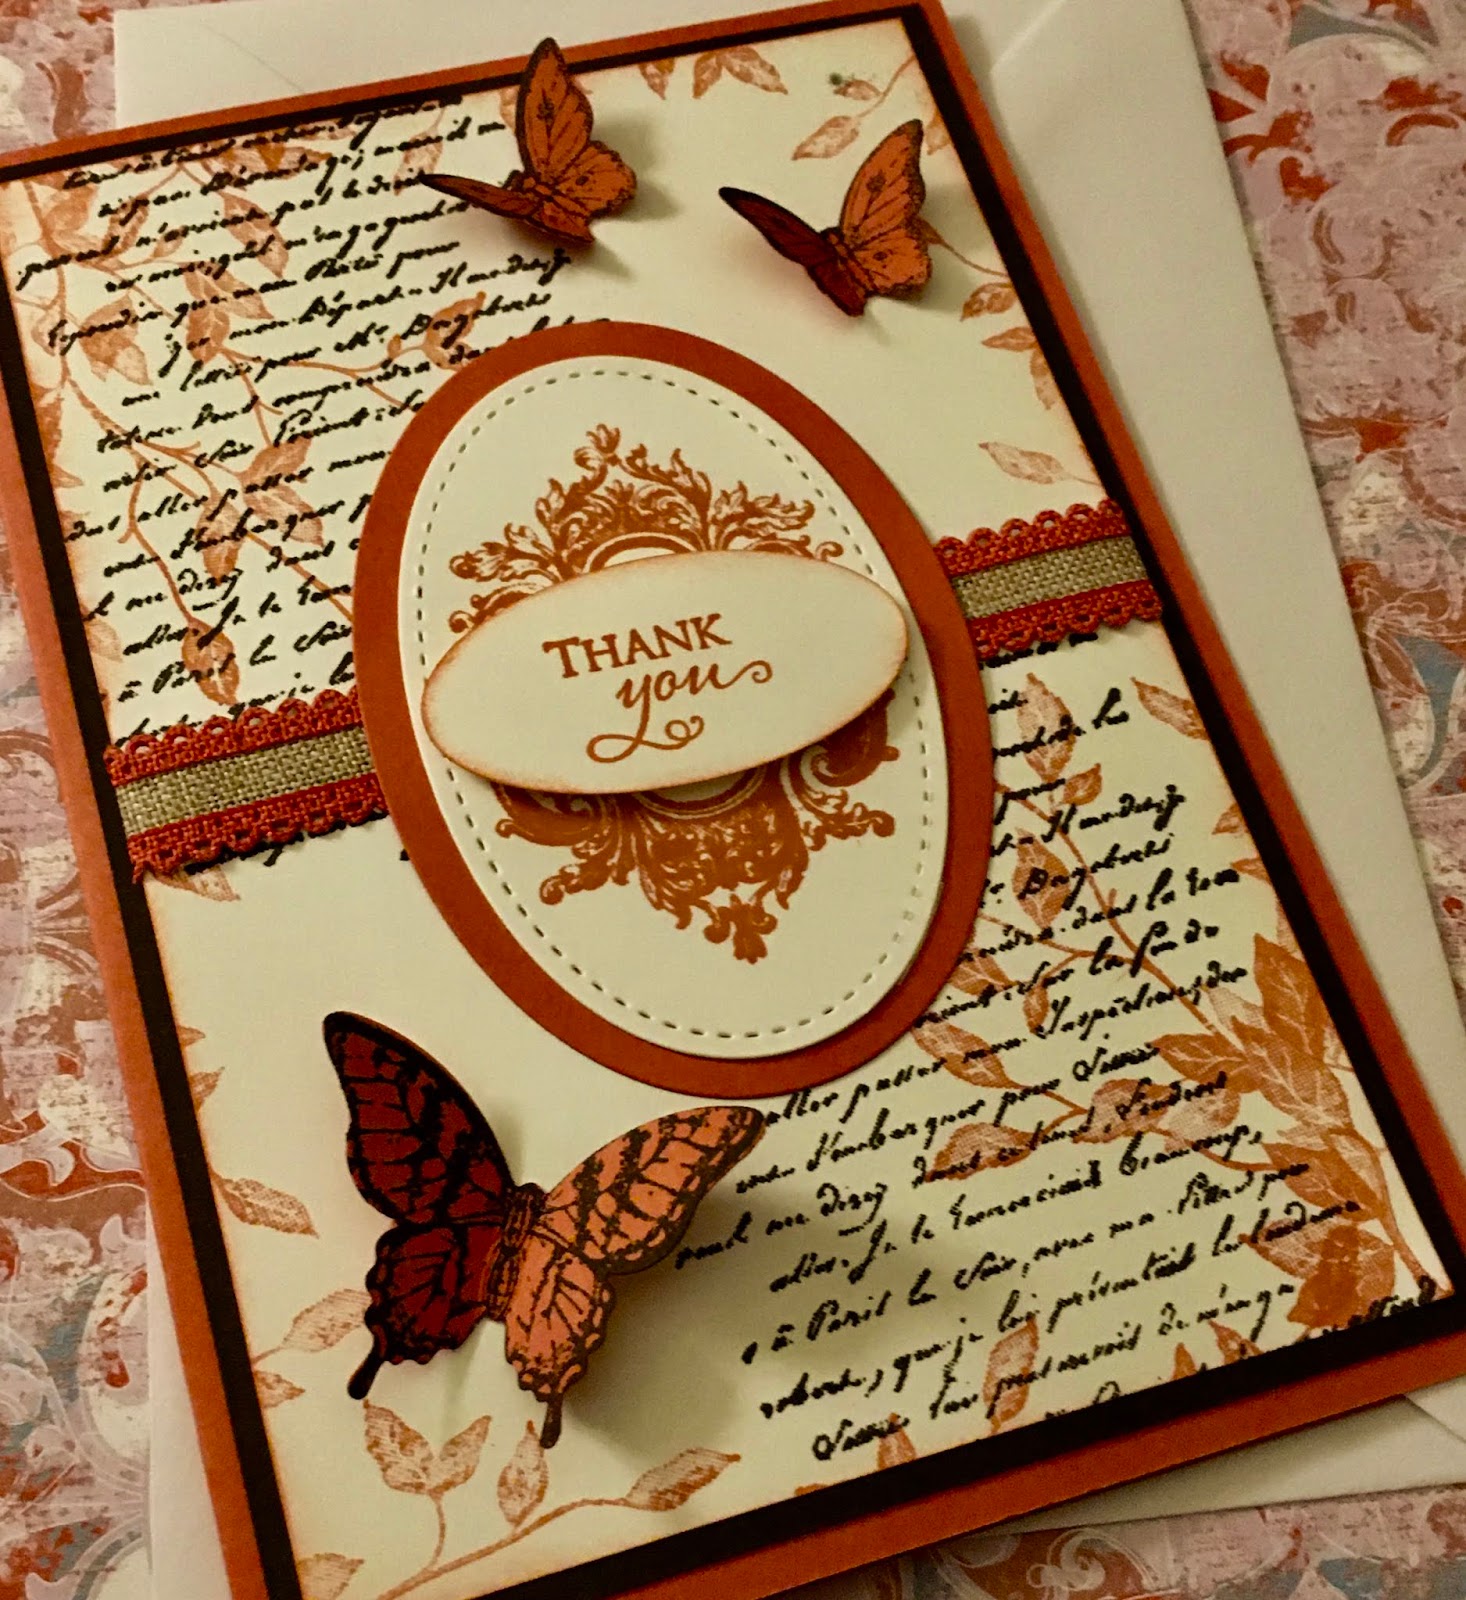
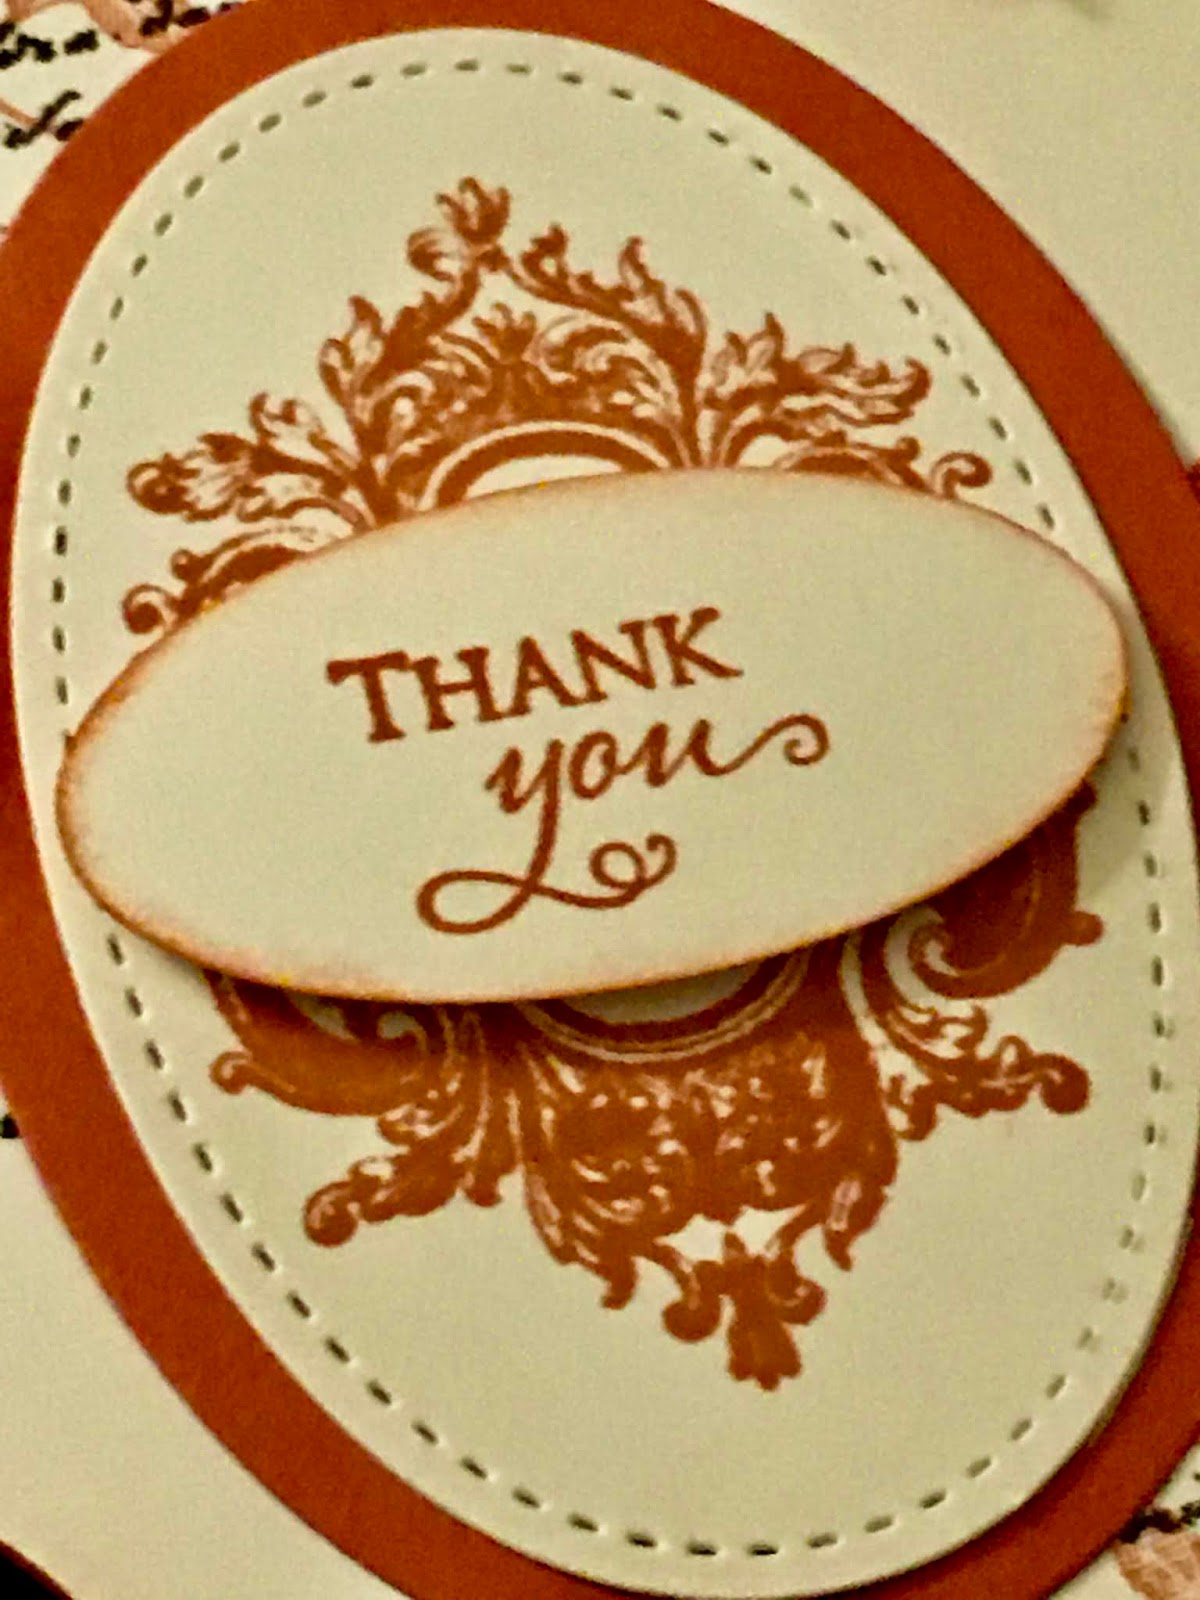
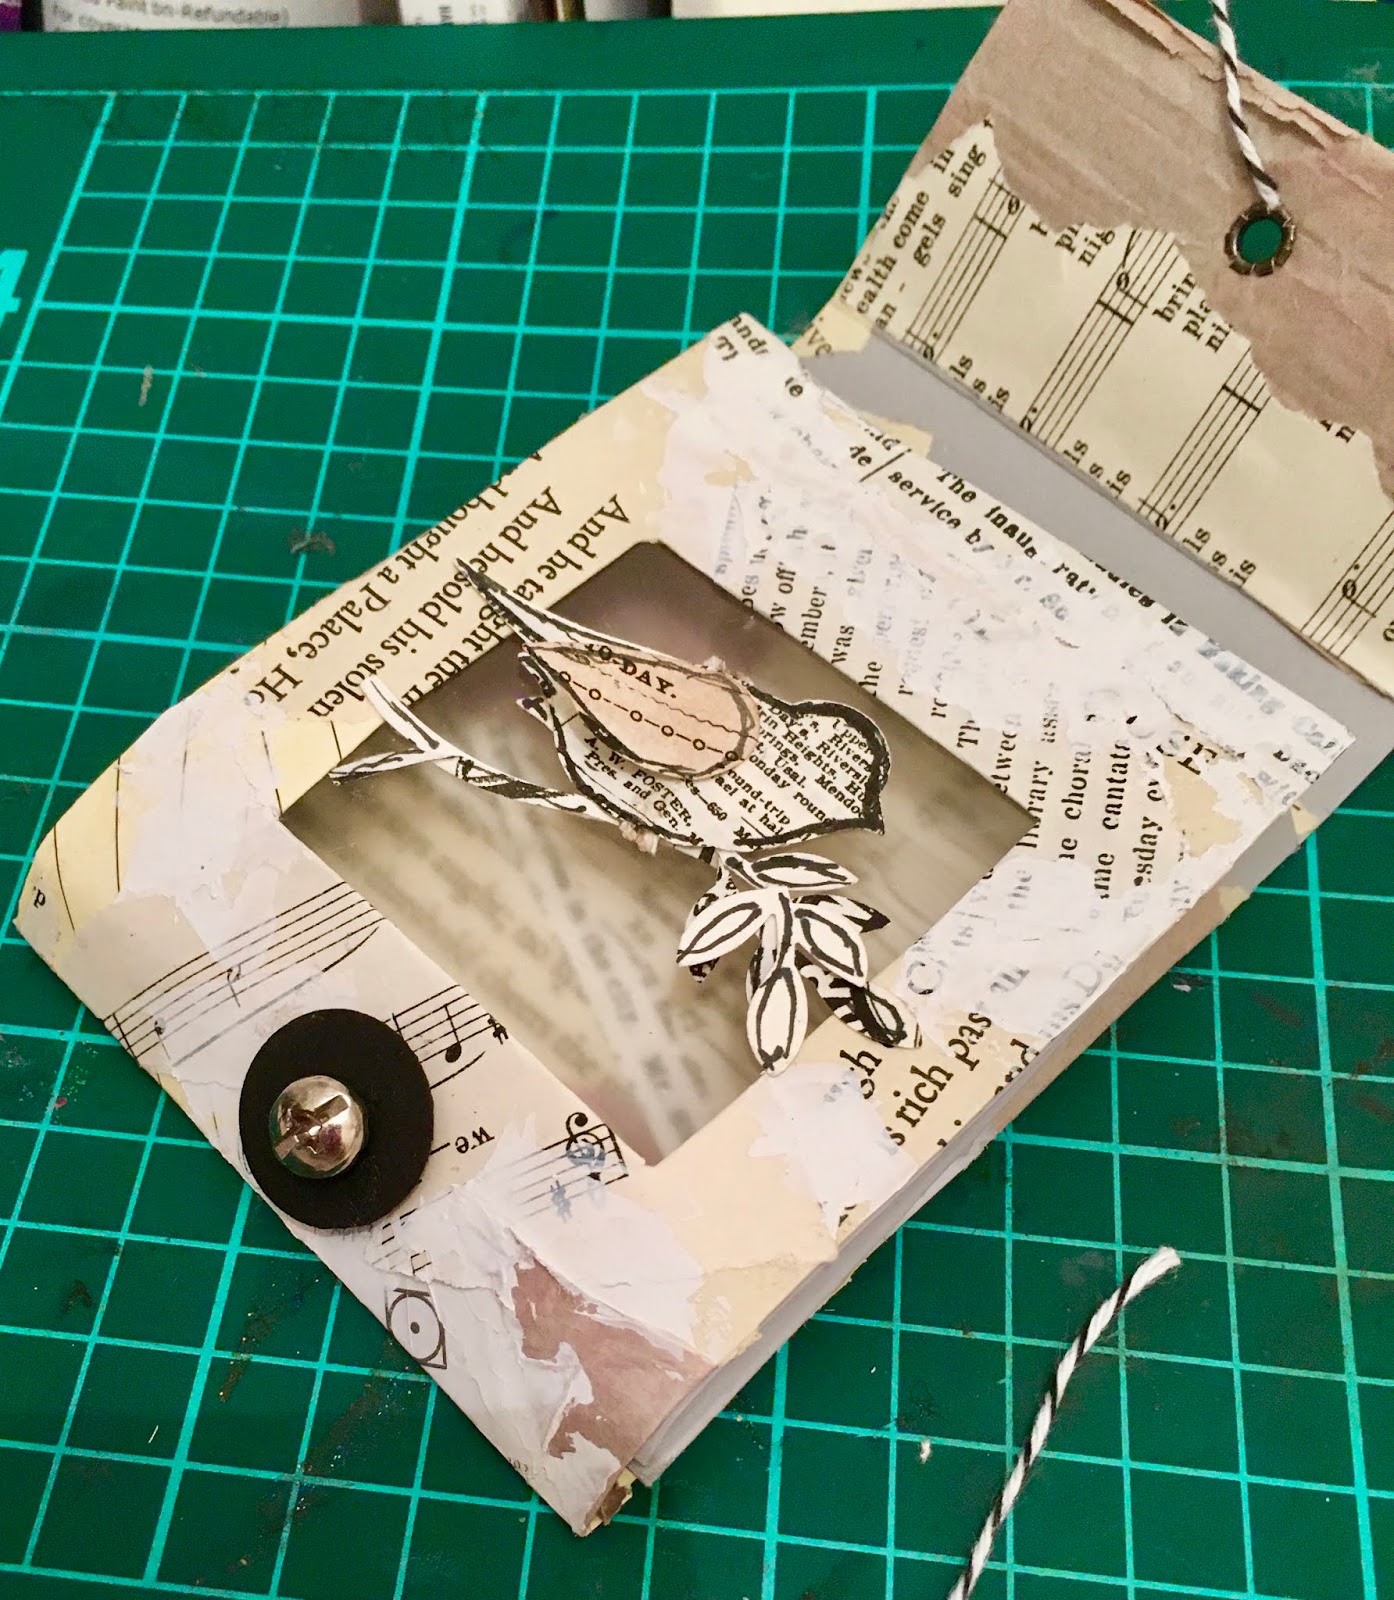
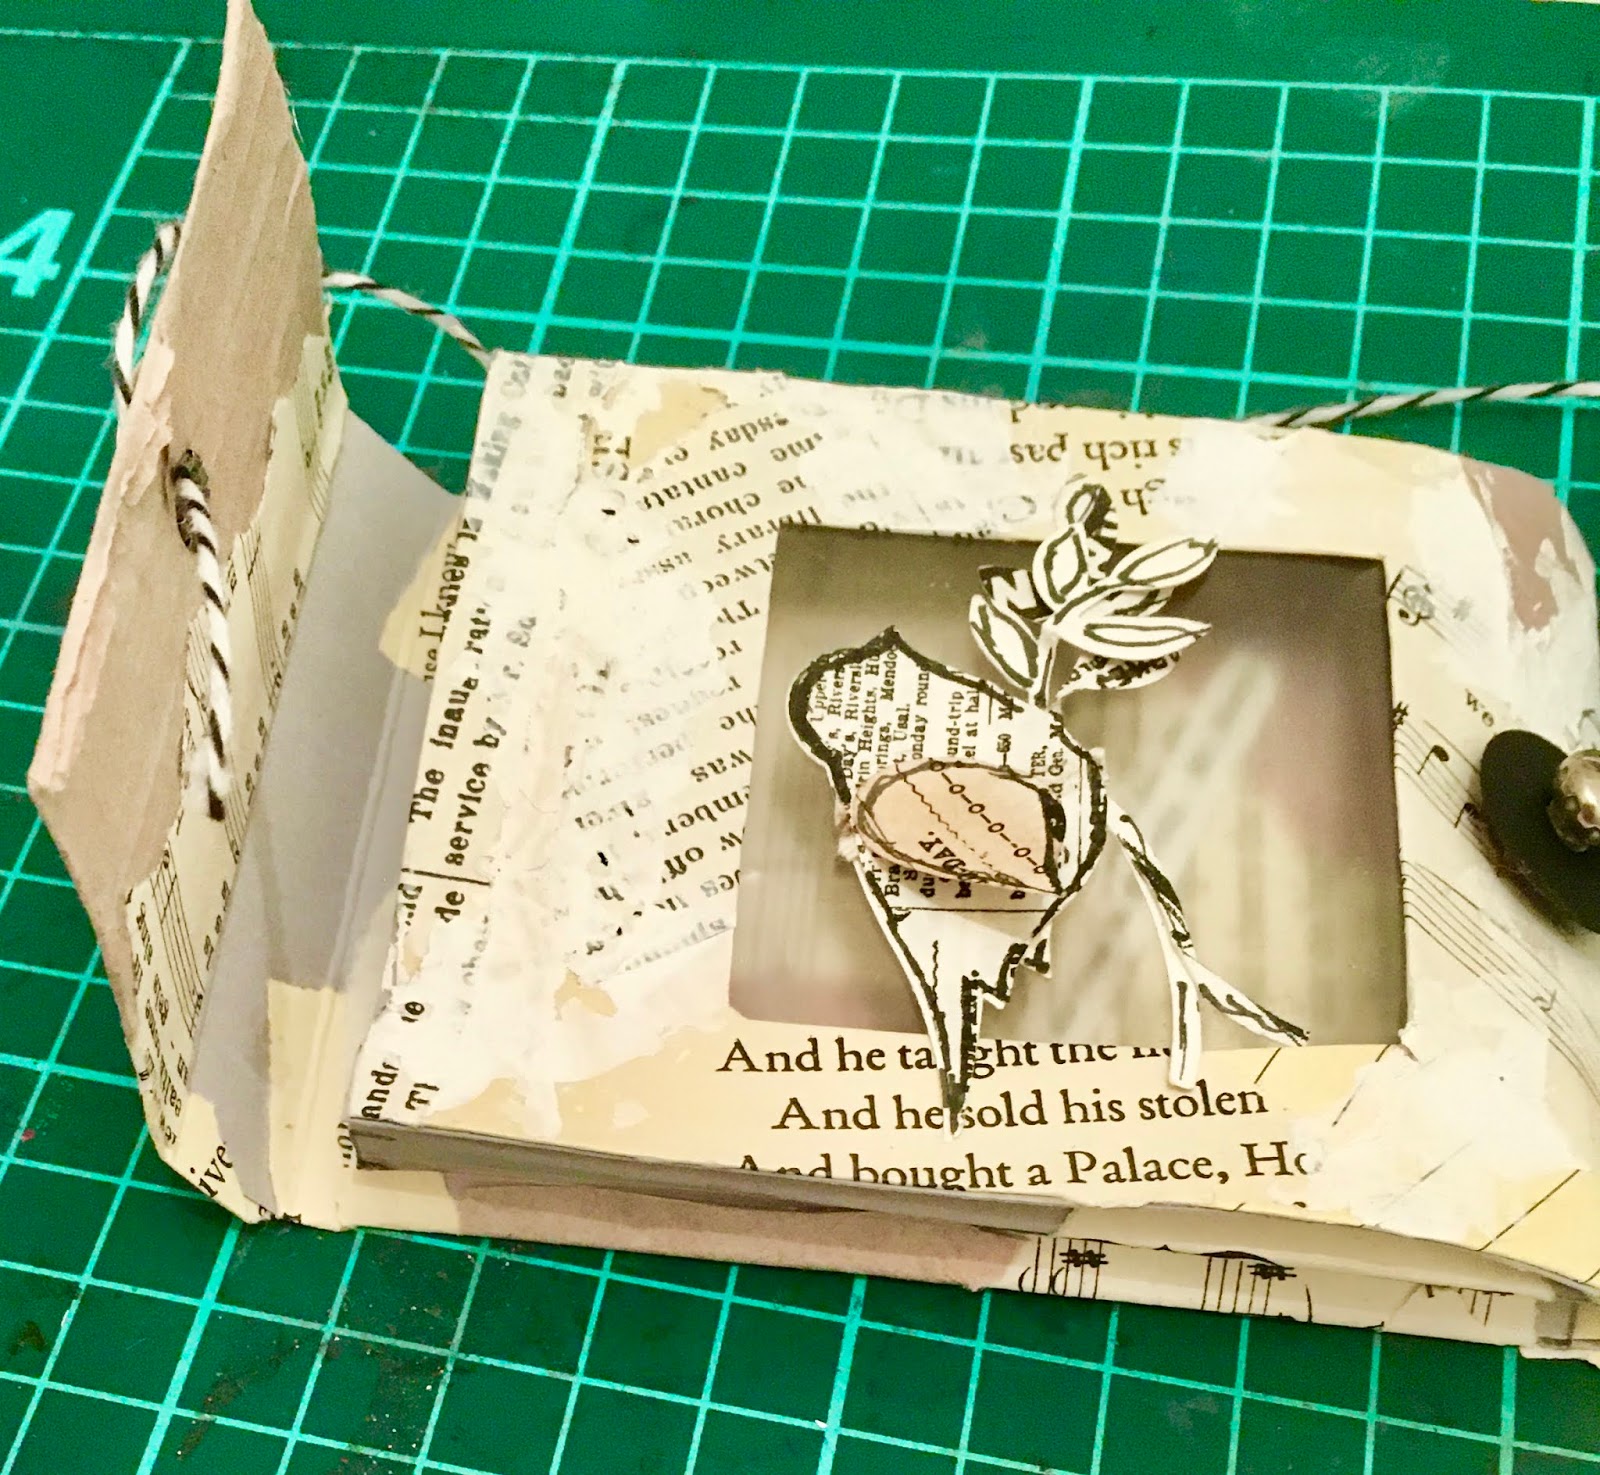